3D Cake Decor with Edible Prints
Estimated reading time: 15 minutes
Key Takeaways
- 3D cake decor enhances traditional designs by adding depth and dimension.
- Edible prints enable intricate and personalized cake designs.
- Layering fondant shapes with printed sheets creates rich, textured cake decorations.
- Combining sugar sculptures with printed icing results in elegant and dynamic visuals.
- Proper storage and application techniques are essential for maintaining print quality.
Table of Contents
- Introduction
- Understanding Edible Prints
- Edible Printing Technology
- Layering Fondant Shapes and Printed Sheets
- Multi-Dimensional Cake Art Tips
- Combining Sugar Sculptures with Printed Icing
- Best Practices and Common Challenges
- Conclusion
- Call to Action
- Frequently Asked Questions
Introduction
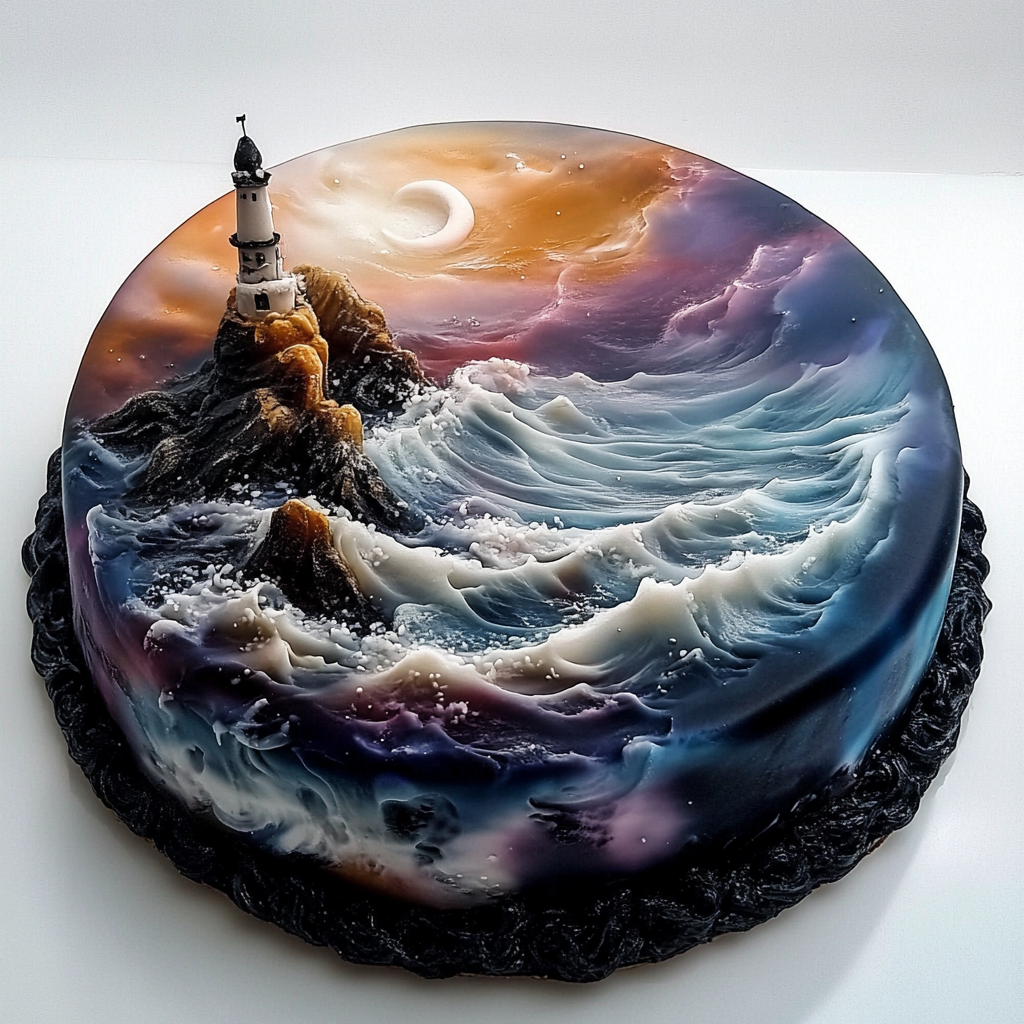
3D cake decor is transforming the world of cake artistry by integrating depth, texture, and dimension into traditional cake designs. This style takes cake decoration beyond the flat creations that have long dominated the field, adding exciting visual appeal that captivates customers and audiences alike. With the growing popularity of 3D cake decor, bakers are drawn to the unique opportunities it offers to express creativity and skill.
A significant shift in this world has been the introduction of edible prints. These printed images enable decorators to include intricate designs on cakes, making the finished products even more appealing. By blending 2D prints with 3D accents, advanced decorators can push creative boundaries like never before. This post will delve into the fascinating world of 3D cake decor with edible prints and show you how to incorporate these elements into your cake creations.
Understanding Edible Prints
Edible prints are custom designs created on special edible paper using food-safe inks. These prints are primarily used to enhance cakes, cookies, or cupcakes, allowing decorators to craft personalized, eye-catching designs. As decorators explore this technique, they can replicate anything from logos to detailed illustrations, adding a unique touch to their creations.
Edible Printing Technology
The technology behind edible printing has advanced significantly. Many decorators use specialized printers, such as those made by Canon or Epson, equipped with edible ink cartridges to produce remarkable results. Edible prints come in various forms, with two primary types of edible papers commonly used:
- Frosting Sheets: These sheets are made from thin layers of sugar paste and are ideal for vibrant colors and smooth applications. They work beautifully for complex designs that require detail and clarity here.
- Wafer Paper: Though lightweight and delicate, wafer paper provides less vivid color than frosting sheets. However, they are perfect for specific designs where a lighter touch is wanted here.
Edible prints are incredibly versatile, giving bakers the freedom to create stunning and personalized designs that enhance their baked goods.
Layering Fondant Shapes and Printed Sheets
Layering fondant shapes with printed sheets takes cake decor to a new level. This process creates rich, textured designs that draw the eye and make a lasting impression. Below is a detailed guide on how to master this technique for your 3D cake decor:
- Preparation: Start by cutting your fondant into shapes that will complement your printed designs. Using stencils can help ensure uniformity and precision when cutting, allowing you to create a polished final product.
- Adhesive Application: To adhere the edible print to the fondant piece, use options like piping gel or edible glue. These adhesives work well but be cautious—too much moisture can lead to ink smudging. Apply just enough to secure the print without overloading it.
- Strategic Assembly: Think carefully about how you layer these accents on the cake. Aim for a cohesive look by placing larger elements lower down and gradually adding smaller details on top. This technique here brings dimension to your design while keeping it visually appealing.
Example: Picture a floral-themed birthday cake with delicate 3D fondant roses that mirror the floral pattern printed on the frosting sheets. The combination creates a stunning balance between the realistic blooms and the intricate design, making it truly enchanting.
Multi-Dimensional Cake Art Tips
Multi-dimensional cake art goes beyond traditional designs, focusing on depth and visual complexity. As decorators, mastering multi-dimensional techniques allows you to create breathtaking centerpieces. Here are some advanced tips to enhance your multi-dimensional cake designs:
Advanced Techniques
- Thickness Variations: Experiment with varying the thickness of your fondant and printed sheets to create layers that pop. Thinner pieces can create light and delicate features, while thicker ones can provide a bold contrast and depth.
- Textural Contrast: Mixing different textures in your cake decor adds visual interest. Combine smooth edible prints with textured fondant or piped elements to draw attention to specific parts of the design. This contrast will create a stunning effect as it invites viewers to explore your cake.
Step-by-Step Tutorial
- Printing and Cutting Designs: Print your desired designs on edible paper, ensuring they are accurate and ready for use. Then, cut them into smaller pieces that align with the specific dimensions of your 3D cake.
- Adhering Pieces: Using piping gel, carefully attach your printed designs to pre-cut fondant shapes. This method ensures a seamless connection that enhances the layered look of your cake.
- Layering Techniques: Assemble the fondant pieces using cascading or overlapping techniques. Position larger elements lower and smaller pieces above them, creating a fluid transition throughout the design.
For example, imagine designing a wedding cake featuring intricate lace patterns created with edible prints, layered beautifully with fondant flowers cascading dynamically down the sides.
Combining Sugar Sculptures with Printed Icing
Combining sugar sculptures with flat printed icing elevates cake art even further. This technique allows decorators to showcase a variety of elements that complement each other while maintaining overall elegance.
Visual Harmony
To achieve visual harmony between 3D elements and printed designs, keep these key principles in mind:
- Balance: Ensure both the flat printed designs and detailed sugar models share equal visual weight. This approach will result in a harmonious combination that feels cohesive rather than chaotic.
- Stabilization Methods: Larger sugar sculptures will require support to maintain their structure. Use dowels or strong platforms beneath these elements to prevent them from collapsing under the weight of the cake.
Examples of Successful Combinations
Consider a pirate-themed cake featuring printed treasure maps crafted from edible icing adorned with sugar-crafted 3D pirate ships. The combination here of features creates a captivating visual narrative, encouraging creativity while showcasing the decorator’s skills.
Best Practices and Common Challenges
To achieve stunning 3D cake decor with edible prints, following best practices is integral. This will help prevent common challenges and ensure your cakes look professional.
Storage Guidelines
- Proper Storage: Edible prints should be stored in a cool, dry place. This practice helps prevent issues like curling or drying, which can impact the print quality here.
Application Tips
- Surface Preparation: A smooth surface is essential for optimal adhesion. Take time to ensure the areas on the cake are even and well-prepared. Lightly moisten the surface before applying prints if needed, but avoid soaking, as excess moisture can cause issues.
Troubleshooting Common Issues
- Ink Smudging: If ink smudging occurs, reduce moisture in your workspace. This simple adjustment can significantly improve the appearance of your prints.
- Alignment Mishaps: To avoid misaligned prints, practice positioning before applying to the final cake. Doing so ensures precision and prevents frustrating mistakes.
Conclusion
The fusion of 3D cake decor with edible prints is revolutionizing cake artistry, making it easier to create intricate and personalized designs. By layering fondant, utilizing edible prints, and integrating sugar sculptures, decorators can produce breathtaking centerpieces sure to impress. Embrace your creativity, experiment with techniques, and don’t hesitate to share your results with the community—there’s so much to explore in this world of cake decoration.
Call to Action
If you want to stay updated on advanced decorating tips and innovative cake techniques, sign up for our newsletter today! Additionally, keep an eye out for upcoming workshops focused on honing your cake decorating skills—you won’t want to miss this chance to grow your talent!
By delving into 3D cake decor with edible prints, you are set to elevate your cake decorating game to dazzling new heights!
Frequently Asked Questions
-
What are edible prints?
Edible prints are custom designs created on edible paper using food-safe inks, allowing decorators to add intricate and personalized designs to cakes and other baked goods.
-
How do I store edible prints to maintain their quality?
Edible prints should be stored in a cool, dry place to prevent curling or drying, which can affect the print quality.
-
Can I combine edible prints with sugar sculptures?
Yes, combining edible prints with sugar sculptures creates elegant and dynamic cake decorations, providing a harmonious balance between printed designs and 3D elements.
-
What adhesives should I use for layering edible prints and fondant?
Use piping gel or edible glue to adhere edible prints to fondant, applying just enough to secure the print without causing ink smudging.
-
How can I prevent ink smudging on edible prints?
Reduce moisture in your workspace and avoid applying excessive moisture when adhering edible prints to prevent ink smudging.

