Edible Icing Sheets for Gluten-Free Cakes: A Complete Allergen-Aware Guide to Edible Printing
Estimated reading time: 12 minutes
Key Takeaways
- Edible icing sheets for gluten-free cakes enable detailed designs while keeping dietary restrictions safe.
- Always check gluten-free labeling and facility cross-contact details.
- Dairy-free frosting sheets and vegan-friendly edible ink expand allergen-aware options.
- Verify safety with COAs, documentation, and dedicated workflows in allergen-aware kitchens.
- Begin with small tests, document results, and build a repeatable, safe decorating process.
Table of contents
- Edible Icing Sheets for Gluten-Free Cakes: What to Know Before You Print
- Dairy-Free Frosting Sheets: Keeping Prints Safe for Milk-Free Customers
- Vegan-Friendly Edible Ink: What’s Really in the Cartridges?
- Tips for Allergen-Free Edible Printing
- Practical Application Guide: How to Apply Edible Sheets to Gluten-Free Cakes
- Troubleshooting and Pro Tips
- Safety, Storage, and Choosing Allergen-Aware Suppliers
- Gluten-Free, Dairy-Free, and Vegan Edible Printing FAQs
Edible Icing Sheets for Gluten-Free Cakes: What to Know Before You Print
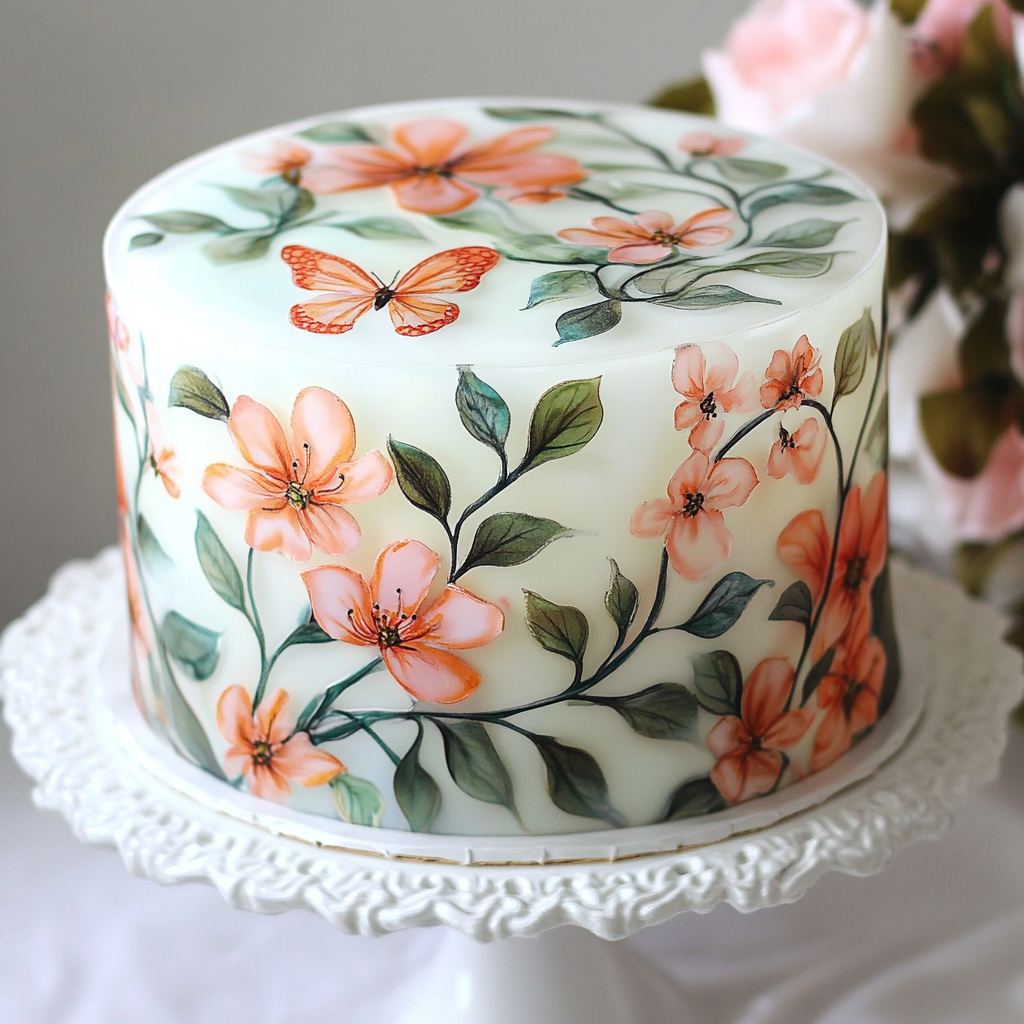
Edible icing sheets for gluten-free cakes sit on a plastic backing and accept edible ink. They melt into frosting smoothly, giving you crisp images and sharp lettering without damaging the cake’s texture. These sheets are the most common edible media used for detailed cakes, especially when gluten-free diets are in play.
1.1 What are edible icing sheets?
- Thin, flexible sheets made from sugar- or starch-based blends.
- They come with a plastic backing and are designed to hold edible ink.
- Brands often claim gluten-free, sometimes also soy- and nut-free, when produced in controlled facilities.
- The goal is to deliver precise, edible decoration that becomes part of the cake.
- For a general overview, see What Are Edible Icing Sheets and How to Use Them for Cake Decorating
1.2 Typical ingredients & gluten-free considerations
- Base ingredients you’ll typically see: sugar, modified starches, plant gums, food-grade oils, stabilizers, color, and glycerin.
- Gluten-free considerations:
- Many sheets use gluten-free starches, but some formulations can use starches that could be cross-contaminated if not clearly labeled.
- Always check the allergen statements and facility details to confirm gluten-free status.
- Practical tip: pick sheets that explicitly say gluten-free or gluten-free labeling, and prefer products produced in gluten-free facilities where possible.
- Practical tip: For additional guidance on allergen controls, see Nut-free and gluten-free edible supplies: preventing cross-contact, labeling, and allergen-friendly cake decorating
1.3 Comparing gluten-containing vs gluten-free formulations
- Base starch:
- Standard sheets may use a mix that isn’t clearly gluten-free.
- Gluten-free sheets use labeled corn, potato, or tapioca starch.
- Allergen statements:
- Gluten-free sheets carry explicit claims like “gluten free” and “no known allergens.”
- Some standard sheets lack a clear allergen statement.
- Suitability:
- For gluten-free cakes, pair a gluten-free sheet with a certified gluten-free cake and frosting to reduce risk of cross-contact.
- See Differences Between Chocolate Transfer Sheets and Icing Sheets
1.4 Labeling, cross-contact risks & best practices
-
How to read labels:
- Look for gluten-free statements, “no known allergens,” or facility statements about avoiding cross-contact.
- Preface with vegan and allergen-free claims if your kitchen handles multiple restrictions.
-
Cross-contact risks:
- Points of contact include storage shelves, cutters, scissors, worktops, printer trays, and even your hands.
-
Best practices:
- Keep gluten-free sheets in their original sealed packaging and store away from flour dust.
- Use dedicated tools for gluten-free work to minimize cross-contact.
- Pair gluten-free sheets with certified gluten-free cakes and frostings to maintain safety.
- For quick tips on preventing issues in printing and handling, see Common Problems with Edible Printing
Dairy-Free Frosting Sheets: Keeping Prints Safe for Milk-Free Customers
Dairy-free frosting sheets are designed without milk, butter, whey, casein, or lactose. They’re a natural choice when decorating for dairy-free or vegan guests, and they can work well with many plant-based frostings.
2.1 What are dairy-free frosting sheets?
- Edible sheets designed to be free of dairy ingredients.
- Some brands avoid milk derivatives in flavorings or emulsifiers; dairy-free sheets reduce common dairy allergen risks.
- They’re compatible with many dairy-free frostings and still give a crisp print.
- For a general overview, see What Are Edible Icing Sheets and How to Use Them for Cake Decorating
2.2 Common dairy-free bases
- Plant-based fats instead of butter.
- Starches and gums as stabilizers.
- Glycerin and food-grade colorants.
- Allergen claims to look for include “dairy free,” “vegan,” “gluten free,” and “no known allergens” on the packaging.
- For cross-contact considerations in allergen controls, see Nut-free and gluten-free edible supplies: preventing cross-contact, labeling, and allergen-friendly cake decorating
2.3 Printing compatibility with dairy-free frostings
- Best pairing: dairy-free buttercreams, shortening-based frostings, or fondant.
- Practical tips:
- Apply sheets on a surface that is slightly tacky, not wet or crusted.
- Chill dairy-free frostings a bit before applying to reduce moisture transfer and color bleeding.
- Some plant-based frostings can be softer, so consider using supports during transport.
- For live printing setups and in-store demos, see How to Create a Live Edible Cake Printing Setup for Stunning Custom Desserts
Vegan-Friendly Edible Ink: What’s Really in the Cartridges?
Vegan-friendly edible ink avoids animal-derived ingredients. It’s important for vegan menus and for households avoiding animal products.
3.1 What is vegan-friendly edible ink?
- Edible ink made without animal-derived ingredients (no shellac, carmine, gelatin, or other animal-derived additives).
- Common components include water, plant-based glycerin, colorants, and preservatives.
- The goal is to deliver vibrant colors while staying true to vegan requirements.
- For an overview of edible inks and vegan considerations, see What Are Edible Icing Sheets? The Ultimate Guide to Cake Decorating
3.2 How to read labels for vegan inks
- Look for clear vegan labeling on inks and cartridges.
- Certifications (vegan, vegetarian) can strengthen trust but aren’t always present; always check the ingredient list.
- Ask suppliers for exact ingredient lists and, if available, vegan certifications.
- For common printing issues and troubleshooting, see Common Problems with Edible Printing
3.3 Performance: color depth, longevity, and limitations
- Vegan inks are designed to be vibrant and long-lasting on icing sheets.
- Some reds and deep blacks may have slight color differences compared with non-vegan formulas.
- On very moist surfaces, color can bleed more quickly—using a more stable substrate like fondant or a light layer of icing can help.
Tips for Allergen-Free Edible Printing
Here we lay out practical, repeatable steps—the core checklist you’ll use in real kitchens. This section uses the exact phrase tips for allergen-free edible printing in its introduction.
4.1 Step-by-step allergen-free checklist
- Step 1 – Identify allergens to avoid
- Confirm with the client which allergens must be avoided: gluten, dairy, eggs, soy, nuts, sesame, etc.
- Step 2 – Choose certified or clearly labeled products
- Look for gluten-free, no known allergens, vegan, Kosher, or facility-specific statements.
- Ensure inks carry explicit vegan or allergen statements.
- Step 3 – Request documentation
- Ask suppliers for ingredient lists, allergen charts, COAs, and facility statements.
- Step 4 – Prepare a clean workspace
- Sanitize surfaces, printers, scissors, rulers, and cutting mats.
- Keep allergen-containing ingredients away from the printing area.
- For additional guidance on allergen controls and documentation, see Frequently Asked Questions About Edible Printing
4.2 Preventing cross-contamination
- Dedicated tools:
- If possible, use a separate edible printer, cartridges, and tools for allergen-free work.
- Handling practices:
- Wash hands, consider gloves for high-risk allergens.
- Store sheets in sealed bags in clean containers, away from other supplies.
- Cutting and storage:
- Use a gluten-free cutting board and knife.
- Store finished prints on parchment in an airtight box to avoid contact with other decorations.
- Quick fixes and prevention: see Preventing Smudges on Icing Sheets
4.3 Verifying allergen statements & avoiding triggers
- Red flags:
- “May contain” statements or claims about shared facilities when serving severe allergies.
- What to screen out:
- Wheat, barley, rye; dairy ingredients; egg powders; soy (if soy-free is required); nut extracts; sesame; gelatin.
- Record-keeping:
- Keep a binder or digital folder with supplier labels, certifications, and email confirmations for easy reference.
- For supplier transparency and safety checks, see Nut-free and gluten-free edible supplies: preventing cross-contact, labeling, and allergen-friendly cake decorating
Practical Application Guide: How to Apply Edible Sheets to Gluten-Free Cakes
How you apply edible sheets matters as much as the sheet itself. This section shows you how to apply with confidence.
5.1 Preparing the gluten-free cake surface
- Frosting choices that work well:
- Gluten-free buttercream, dairy-free shortening frostings, or fondant.
- Surface prep:
- The surface should be smooth, level, and slightly tacky (not wet or crusted).
- If using fondant, you may use a light mist of water or edible glue to help adhesion.
- Crumb coats help ensure a clean edge and minimal texture transfer.
- For general guidelines on icing sheets usage, see What Are Edible Icing Sheets? The Ultimate Guide to Cake Decorating
5.2 Applying edible icing sheets for gluten-free cakes
- Step-by-step:
- Open the sheet just before use to minimize exposure.
- Gently peel the backing using a slow, even motion.
- Align the sheet carefully and lay it from one edge, smoothing with your hand or a fondant smoother.
- Work from the center outward to push out air pockets.
- Quick tips:
- If the frosting is too rough or crumbly, fix with a light crumb coat and chill before applying.
- Avoid very moist fillings directly under the sheet to reduce bleeding and warping.
- For additional application guidance, see What Are Edible Icing Sheets? The Ultimate Guide to Cake Decorating
5.3 Compatibility with different frostings & fillings
- Best substrates:
- Buttercream, light ganache, fondant, marzipan, and some firm ice-cream surfaces.
- Moisture considerations:
- Very moist fillings can cause curling or bleeding; test patches first.
- Transport and display:
- Allow the print to bond for 30–60 minutes at cool room temperature before moving.
- Keep the cake covered during transport to reduce drying and curling.
- For cross-reference on sheet differences, see Differences Between Chocolate Transfer Sheets and Icing Sheets
Troubleshooting and Pro Tips
Problem-solving in real kitchens saves time and ensures consistent results.
6.1 Common issues
- Curling sheets: Often due to dry air or long time outside packaging.
- Cracking: Usually older sheets or improper storage.
- Color bleeding: Moisture or condensation on the sheet.
- Misalignment: Printer feed issues or backing slipping.
- Moisture sensitivity: High humidity can affect a print’s integrity.
- For troubleshooting guidance, see Common Problems with Edible Printing
6.2 Quick fixes & prevention
- Curling: Store in sealed bags and press between parchment and a book before use.
- Cracking: Slightly warm sheets in hands or near a gentle heat before peeling; avoid expired stock.
- Bleeding: Let printed sheets air-dry briefly and avoid direct refrigeration.
- Misalignment: Use the printer’s rear feed tray and run a plain-paper test before printing on sheets.
- Moisture: Use a firmer frosting base and maintain steady room temperatures.
- For additional moisture and storage considerations, see Preventing Smudges on Icing Sheets
Safety, Storage, and Choosing Allergen-Aware Suppliers
7.1 Shelf life and storage
- Shelf life:
- Many premium icing sheets last 12–24 months in sealed packaging at room temperature.
- Storage guidelines:
- Keep in original packaging, away from heat, light, and humidity.
- Refrigeration is usually not required and can add moisture; follow the manufacturer’s guidance.
- For supplier reliability and safety checks, see Nut-free and gluten-free edible supplies: preventing cross-contact, labeling, and allergen-friendly cake decorating
7.2 Handling warnings
- Do not use sheets or inks past their best-before dates.
- Use dedicated edible printers and cartridges for allergen-free work.
- For more on safe handling and printing best practices, see Frequently Asked Questions About Edible Printing
7.3 How to choose reputable suppliers
- Criteria:
- Clear ingredient lists and allergen information (gluten-free, no known allergens, vegan).
- Certifications: FDA-compliant, Kosher, vegan, gluten-free where relevant.
- Transparency about facility controls (e.g., “Manufactured in a facility that does not process known allergenic ingredients.”).
- Consistent quality in sheets, prints, and easy peeling.
- Practical approach:
- Build a small supplier dossier with COAs, product specs, and sample checks to review before placing large orders.
- Resources for safety and sourcing:
Gluten-Free, Dairy-Free, and Vegan Edible Printing FAQs
-
Are all icing sheets gluten-free by default?
Not always. Always check the label and facility statements. Look for explicit gluten-free claims and allergen statements.
For a quick primer on icing sheets, see What Are Edible Icing Sheets? The Ultimate Guide to Cake Decorating. -
Can I use the same edible printer for regular and allergen-free cakes?
It’s best to have a dedicated edible printer for allergen-free work or thoroughly sanitize between uses.
Troubleshooting printing issues is covered in Common Problems with Edible Printing. -
What is the difference between dairy-free and vegan-friendly edible ink or sheets?
Dairy-free means no dairy ingredients. Vegan-friendly means no animal-derived ingredients at all, which often also excludes carmine, gelatin, and shellac.
For more on icing sheets and vegan considerations, see What Are Edible Icing Sheets? The Ultimate Guide to Cake Decorating. -
Can edible prints be made nut-free and sesame-free as well?
Yes, but it requires careful label reading, supplier certifications, and sometimes separate facilities. Always verify facility statements.
See Nut-free and gluten-free edible supplies: preventing cross-contact, labeling, and allergen-friendly cake decorating. -
How far in advance can I apply an edible image to a gluten-free cake?
Most images are best applied within 1–2 days of baking if stored properly, or on the day of decorating for best results. -
Do I need to refrigerate cakes with edible icing sheets?
Generally no. Most sheets are stable at room temperature, but always follow the sheet and icing manufacturer’s guidance.
For broader printing guidelines, see Frequently Asked Questions About Edible Printing. -
What should I tell customers who have severe allergies about my edible prints?
Be transparent: share the allergen statements, facility controls, and any potential cross-contact risks. Offer to provide COAs or supplier certificates on request.
For comprehensive safety and allergen guidance, see Nut-free and gluten-free edible supplies: preventing cross-contact, labeling, and allergen-friendly cake decorating.
Conclusion: Decorating Safely and Creatively for Every Guest
Edible icing sheets for gluten-free cakes open doors to detailed, expressive designs while respecting dietary needs. By choosing properly labeled gluten-free sheets, pairing with dairy-free frosting sheets when needed, and using vegan-friendly edible ink, you can craft beautiful cakes that are both safe and delicious. The key is to follow tips for allergen-free edible printing: read labels carefully, keep a clean workspace, use dedicated tools where possible, and document every step from supplier certificates to storage practices. Start with small tests, record what works, and you’ll build a reliable process that delights every guest while keeping safety front and center. Decorating safely and creatively for every guest isn’t just possible—it can become your bakery’s signature strength.
- Process images: Step-by-step application of an icing sheet to a gluten-free cake; close-ups of reading ingredient panels and allergen statements.
- Comparison table: Rows for standard icing sheets, gluten-free/allergen-aware sheets, dairy-free frosting sheets, vegan inks; Columns show base starch, allergen statements, typical use, and moisture sensitivity.
- Quick-start checklist box: A beginner-friendly allergen-free print prep checklist drawn from Section 4.
- Example product suggestions and supplier criteria: At least 2–3 examples per category (gluten-free sheets, dairy-free sheets, vegan inks) with selection criteria.
With these practices, you’ll create edible prints that look amazing and keep every guest safe. The journey from planning to plate becomes smoother, more predictable, and genuinely satisfying for you and your customers.